Learn Python with Steem #10 #11 笔记#
[toc]
划重点#
获取用户的文章列表 通过 steem.Steem.get_account_history 获取用户的动态,从中筛选出文章的 permlink。
再用 steem.Steem.get_content 方法获取每篇文章的详细信息。
其实也可以用 steem.blog.Blog 获取用户所有的文章信息。
编程练习#
导入需要的Python包
1
2
3
4
5
6
| import csv
import pymongo
from datetime import datetime, timezone, timedelta
from steem.blog import Blog
from pprint import pprint
import math
|
定义一个日期转换函数
1
2
3
| def date_2_local_date(_utcdate, _timedelta):
utc_date = _utcdate.replace(tzinfo=timezone.utc)
return utc_date.astimezone(timezone(timedelta(hours=_timedelta)))
|
定义计算声望的函数
1
2
| def parse_reputation(raw_reputation):
return (math.log10(int(raw_reputation)) - 9) * 9 + 25
|
定义获取文章详情的函数,返回字典类型的数据
定义获取用户所有文章的函数,返回字典
1
2
3
4
5
6
7
8
9
| def get_user_posts(account_name='yjcps'):
blog = Blog(account_name)
all_data = blog.all()
posts = [get_post_detail(post) for post in all_data]
return {
'account_name':account_name,
'count_posts':len(posts),
'posts':posts
}
|
保存所有文章数据为CSV文件
1
2
3
4
5
6
7
8
| def save_to_csv(data: list, file_path, encoding):
keys = data[0].keys()
with open(
file_path, 'w', newline='', encoding=encoding,
errors='ignore') as f:
writer = csv.DictWriter(f, fieldnames=keys)
writer.writeheader()
writer.writerows(data)
|
将数据导入到 MongoDB 数据库
1
2
3
4
5
6
7
| # 配置数据库连接信息
MONGO_HOST = 'localhost'
MONGO_COLLECTION = 'steem'
mongo_client = pymongo.MongoClient(MONGO_HOST)
mongo_collection = mongo_client[MONGO_COLLECTION]
|
 1
 2
 3
 4
 5
 6
 7
 8
 9
10
11
12
13
14
15
| def save_to_mongodb(data, tablename):
if data is not None:
if isinstance(data, list):
result = mongo_collection[tablename].insert_many(data)
if result.acknowledged:
print('已导入%d条数据' % len(result.inserted_ids))
return result.inserted_ids
if isinstance(data, dict):
if mongo_collection[tablename].update_one({
'account_name': data.get('account_name')}, {
'$set': data}, upsert=True):
print('已导入%s的数据' % data.get('account_name'))
return True
else:
return None
|
1
| yjcps = get_user_posts('yjcps')
|
1
2
| # 查看返回的数据
pprint(yjcps)
|
 1
 2
 3
 4
 5
 6
 7
 8
 9
10
11
12
13
14
15
16
17
18
19
20
21
22
23
24
25
26
| {'account_name': 'yjcps',
'count_posts': 35,
'posts': [{'active': '2018-08-23 11:32:18',
'active_voter': 'steempress,justyy,happyukgo,doraemon,superbing,dailystats,cryptocurrencyhk,jianan,steemtaker,cnbuddy,anxin,foodielifestyle,woolfe19861008,dailychina,yjcps,dongfengman,serenazz,shentrading,ethanlee,fanso,lilypang22,steempress-io,sweet-jenny8,shine.wong,turtlegraphics,regretfulwooden,witnesstools,happyfamily,ilovecoding',
'author': 'yjcps',
'author_reputation': 51.616714372034224,
'body': '# Learn Python with Steem #09 笔记\n'
'\n'
'---\n'
'\n'
'[toc]\n'
'\n'
'## 划重点\n'
'\n'
'- 遍历字典\n'
'\n'
' 利用dict.items()方法,用一个循环语句遍历整个字典的所有元素。\n'
...
...
" 'last_post_date': '2018-08-16-Thu 20:57:21',\n"
" 'post_count': 5926,\n"
" 'reputation': 67.26589131476406,\n"
" 'sbd_balance': '30.081 SBD',\n"
" 'sp': 5186.613554620994,\n"
" 'vesting_shares': 10501691.705077,\n"
" 'vot
|
limit_output extension: Maximum message size of 9996 exceeded with 57914 characters
1
| file_path = '{}_all_posts_{}.csv'.format(yjcps['account_name'], yjcps['count_posts'])
|
1
2
3
4
5
| # 保存数据为CSV文件,方便在Windows的Excel软件打开,选择编码为gbk,这样会丢弃不能编码的字符
# 可以选择utf-8编码,但需要从Excel中手动导入数据
# 如果日后编程需要取用,建议使用utf-8编码
save_to_csv(yjcps['posts'], file_path, 'gbk')
|
哈哈,我的所有文章数据,放到Excel里打开

1
2
| #保存到数据库
save_to_mongodb(yjcps, 'steem_posts')
|
1
2
3
4
5
6
7
| 已导入yjcps的数据
True
|
成功保存到数据库

取大鹏的数据看看
1
| dapeng = get_user_posts('dapeng')
|
1
| file_path = '{}_all_posts_{}.csv'.format(dapeng['account_name'], dapeng['count_posts'])
|
1
| save_to_csv(dapeng['posts'], file_path, 'gbk')
|
1
| save_to_mongodb(dapeng, 'steem_posts')
|
1
2
3
4
5
6
7
| 已导入dapeng的数据
True
|
花了5分钟来获取大鹏的所有文章数据,一共497篇文章,难怪要等那么久,以后从数据库获取数据会快一点。

再看看刘美女的文章
1
| deanliu = get_user_posts('deanliu')
|
1
2
| WARNING:root:Retry in 1s -- RPCErrorRecoverable: non-200 response: 502 from api.steemit.com
WARNING:root:Retry in 1s -- RPCErrorRecoverable: non-200 response: 502 from api.steemit.com
|
1
| file_path = '{}_all_posts_{}.csv'.format(deanliu['account_name'], deanliu['count_posts'])
|
1
| save_to_csv(deanliu['posts'], file_path, 'gbk')
|
1
| save_to_mongodb(deanliu, 'steem_posts')
|
1
2
3
4
5
6
7
| 已导入deanliu的数据
True
|
获取刘美女的所有文章花了11分钟,一共878篇文章,高产作家!

也成功保存了CSV文件。

为所有文章生成词云图片#
导入需要的Python包
1
2
3
4
5
6
7
| import numpy as np
import jieba.analyse
import PIL.Image as Image
import re
from matplotlib import pyplot as plt
from collections import Counter
from wordcloud import WordCloud, ImageColorGenerator
|
定义一个清理文章的函数,只保留中文
1
2
3
4
5
6
| # 去除所有半角全角符号,只留字母、数字、中文。
def clean_text(text):
# rule = re.compile(r"[^a-zA-Z0-9\u4e00-\u9fa5]")
rule = re.compile(u"[^\u4e00-\u9fa5]")
text = rule.sub(' ', text)
return text
|
为文章分词,并统计每个关键词的频率
1
2
3
4
5
| def get_tag(text, cnt):
re_text = clean_text(text)
tag_list = jieba.analyse.extract_tags(re_text)
for tag in tag_list:
cnt[tag] += 1
|
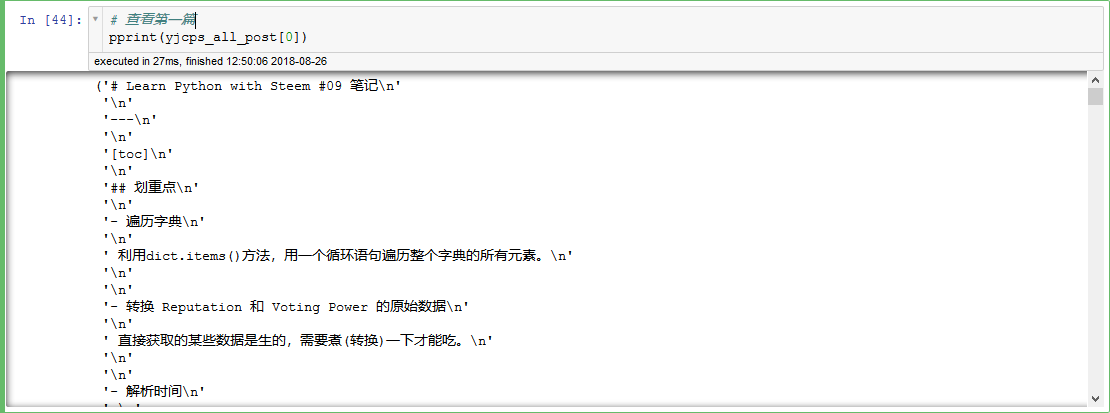
1
2
| # 取出所有文章,放到一个列表里面
yjcps_all_post = [post['body'] for post in yjcps['posts']]
|
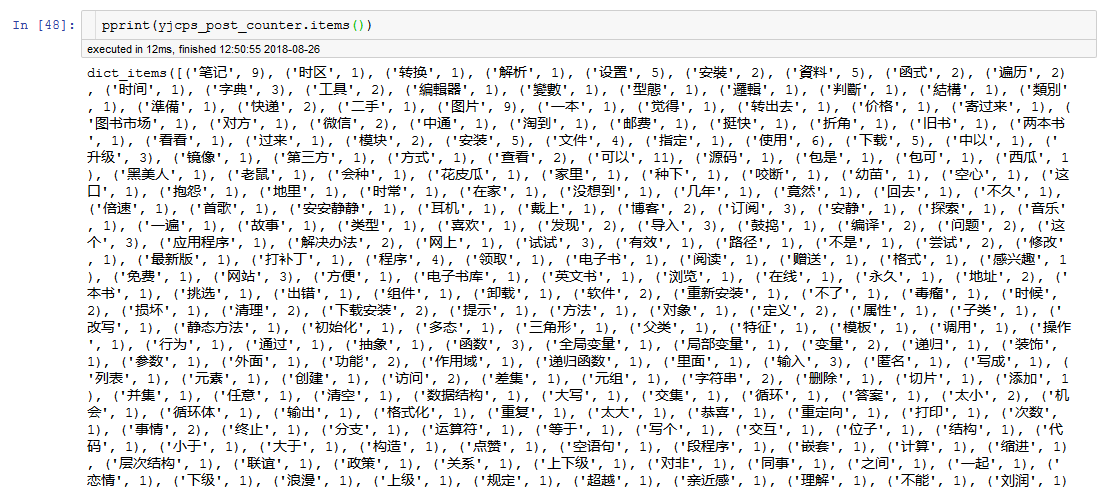
1
2
3
4
| # 获取词频
yjcps_post_counter = Counter()
for post in yjcps_all_post:
get_tag(post, yjcps_post_counter)
|
 1
 2
 3
 4
 5
 6
 7
 8
 9
10
11
12
13
14
15
16
17
18
19
20
| # 画词云图
# 指定中文字体
font = 'DroidSansFallbackFull.ttf'
wc = WordCloud(
font_path=font,
background_color="white",
max_words=2000,
max_font_size=100,
width=800,
height=800,
)
wc.generate_from_frequencies(yjcps_post_counter)
plt.figure(figsize=(8, 8))
plt.imshow(wc, interpolation="none")
plt.axis("off")
plt.show()
|

再来看看大鹏的文章关键词
 1
 2
 3
 4
 5
 6
 7
 8
 9
10
11
12
13
14
15
16
17
18
19
20
21
22
23
24
25
26
| dapeng_all_post = [post['body'] for post in dapeng['posts']]
# 获取词频
dapeng_post_counter = Counter()
for post in dapeng_all_post:
get_tag(post, dapeng_post_counter)
# 画词云图
# 指定中文字体
font = 'DroidSansFallbackFull.ttf'
# 指定背景图片
bg_image = np.array(Image.open("steemit.png"))
wc = WordCloud(
font_path=font,
background_color="white",
max_words=2000,
max_font_size=100,
mask=bg_image)
wc.generate_from_frequencies(dapeng_post_counter)
plt.figure(figsize=(8, 8))
plt.imshow(wc, interpolation="none")
plt.axis("off")
plt.show()
|

同样的,再看看刘美女的关键词
 1
 2
 3
 4
 5
 6
 7
 8
 9
10
11
12
13
14
15
16
17
18
19
20
21
22
23
24
25
26
27
28
| deanliu_all_post = [post['body'] for post in deanliu['posts']]
# 获取词频
deanliu_post_counter = Counter()
for post in deanliu_all_post:
get_tag(post, deanliu_post_counter)
# 画词云图
# 指定中文字体
font = 'DroidSansFallbackFull.ttf'
# 指定背景图片
bg_image = np.array(Image.open("steemit2.png"))
# 取图片的颜色作为绘制词云图片的颜色
image_colors = ImageColorGenerator(bg_image)
wc = WordCloud(
font_path=font,
background_color="white",
max_words=2000,
max_font_size=20,
mask=bg_image)
wc.generate_from_frequencies(deanliu_post_counter)
plt.figure(figsize=(8, 8))
plt.imshow(wc.recolor(color_func=image_colors), interpolation="none")
plt.axis("off")
plt.show()
|

绘制发帖时间图#
导入Python包
1
2
3
| from windrose import WindroseAxes
import numpy as np
from matplotlib import pyplot as plt
|
1
2
3
4
5
6
7
8
| # 获取发帖时间,返回小时,获取的时间已处理为北京时间
def get_post_time(account:dict, _type:str='created')->list:
posts = account['posts']
time_format = '%Y-%m-%d %H:%M:%S'
posts_time = [datetime.strptime(post[_type], time_format) for post in posts]
hours = [time.hour for time in posts_time]
return hours
|
1
2
3
| yjcps_post_time = get_post_time(yjcps)
dapeng_post_time = get_post_time(dapeng)
deanliu_post_time = get_post_time(deanliu)
|
1
2
| # 我所有的发帖时间
print(yjcps_post_time)
|
[15, 6, 7, 6, 6, 6, 14, 7, 22, 7, 10, 0, 12, 20, 20, 19, 13, 0, 21, 18, 11, 11, 12, 1, 18, 15, 13, 12, 14, 11, 0, 0, 23, 18, 21, 15]
绘制我的发帖时间图
 1
 2
 3
 4
 5
 6
 7
 8
 9
10
11
12
13
14
15
16
17
18
19
20
21
22
23
24
25
26
27
28
29
30
31
32
| def make_time_image(time, colors=None, edgecolor='white', **kwargs):
ws = np.array(time)
wd = np.array(time) / 24 * 360
# 统计各时间次数
count, _ = np.histogram(time, bins=24)
if colors:
pass
else:
colors = [(94/255, 79/255, 162/255)]
# 画图
ax = WindroseAxes.from_ax()
ax.bar(wd, ws, nsector=24, normed=True, colors=colors,
bins=1, edgecolor=edgecolor, **kwargs)
xticklabels = ['6:00', '3:00', '0:00',
'21:00', '18:00', '15:00', '12:00', '9:00']
# 获取最大极径
rmax = ax.get_rmax()
fmt = "%.1f "
yticklabels = np.linspace(0, rmax, 6) / rmax * max(count)
yticklabels = [fmt % r for r in yticklabels[1:]]
# 设置标签
ax.set_yticklabels(yticklabels)
ax.set_xticklabels(xticklabels)
# 显示
plt.show()
|
1
| make_time_image(yjcps_post_time)
|

绘制大鹏的发帖时间图
1
| make_time_image(dapeng_post_time)
|

最后绘制刘美女的发帖时间图
1
| make_time_image(deanliu_post_time)
|

看到词云图和发帖时间图,大家是否想起了大鹏举办的 “猜猜 TA 是谁” 活动?
猴年马月终于到了, @dapeng @angelina6688 山寨版的用Python画这两个图的方法就在这里了。
期待下个猴年马月, @dapeng 写个正宗的用R画词云图和发帖时间图。
[DA series - Learn Python with Steem]#
我的笔记:#